Using TILED with ugBASIC 1.14.2
Tiled is a 2D level editor that helps to develop the content of any tile-based game.
Its primary feature is to edit tile maps of various forms, and to support free image
placement as well as powerful ways to annotate your level with extra information, that
can be used by ugBASIC.
Introduction
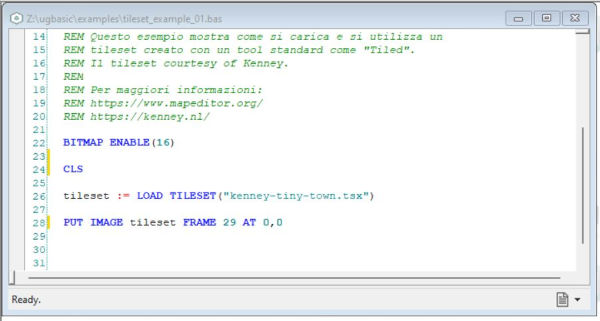
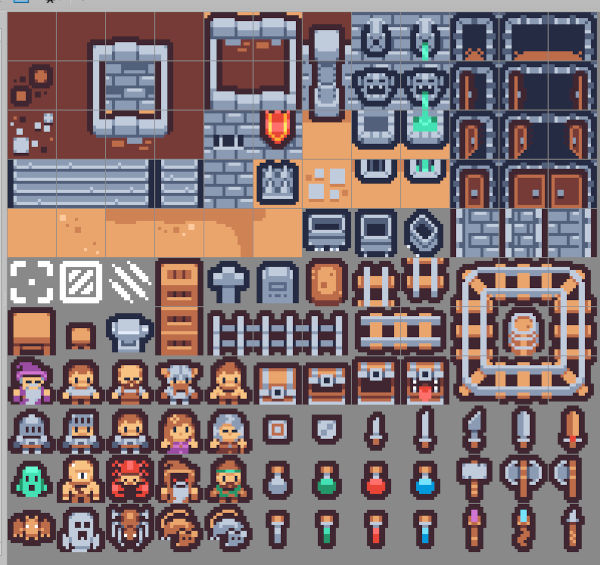
Tilesets
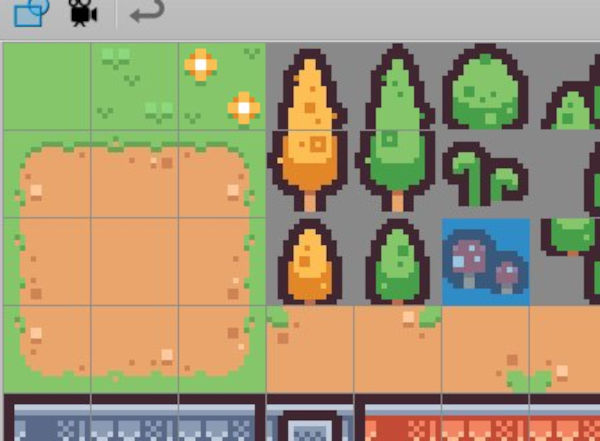
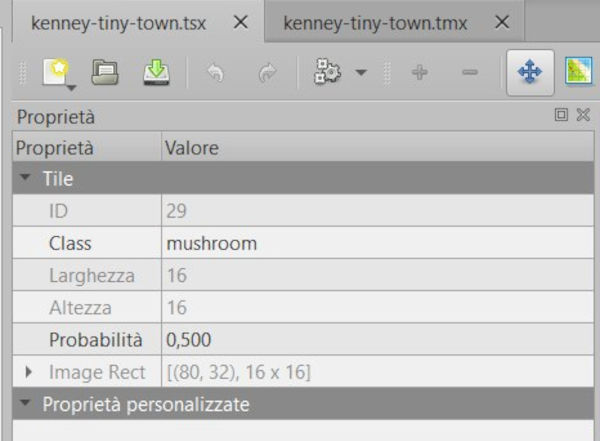
Tiles
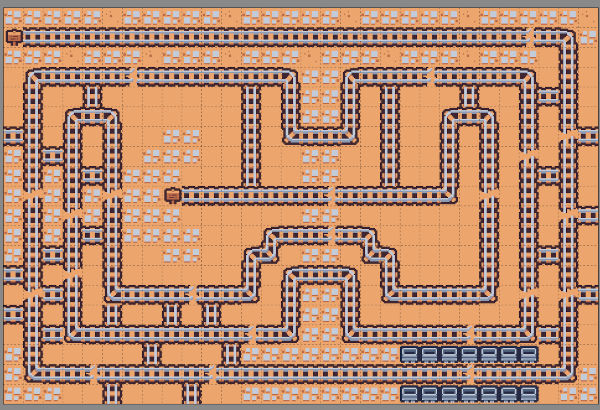
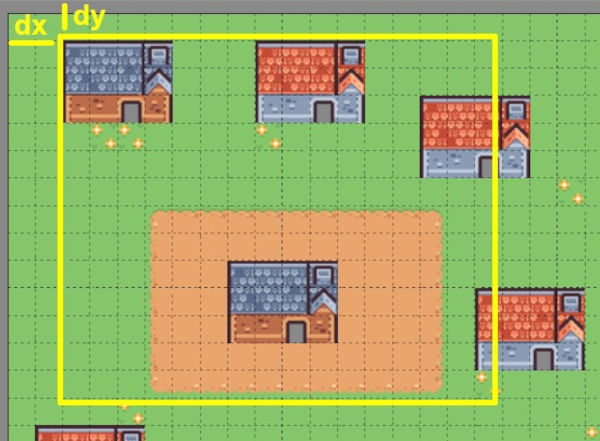
Tilemaps